CNC
GRBLling a STEPCRAFT CNC
last updated: 07/04/20
Introduction
I bought a new toy :). A STEPCRAFT-2/D.840 construction kit to built a CNC milling machine. The mechanical part of the construction was no problem due to the good assembly instructions.
Naturally I want to use open source software. I use FreeCAD to draw and I should be able to generate GCODE directly with Freecad to feed the machine. I also found interesting information on bCNC.
I didn't want to use an old PC with parallel port and I love Arduino, so the first choice was GRBL. And finally I had seen the MaXYposi project with the MaXYpulti :) in the German Make magazine.
But...
After a successful assembly of the mechanical parts I now wanted to connect the GRBL board with the stepper driver board included with the kit, and ran into understanding problems, first because of being a CNC Newbie and second due to a lack of information in the STEPCRAFT manuals. I know that stepper driver have a DIR, STEP and ENABLE signal, but what should I do with an error signal, and only one XYZ limit signal, GRBL needing three of them. And why do I need relays, and are we dealing with negative or positive logic?
So to understand this, I needed a deeper insight, and I needed a plan :) meaning a circuit diagram.
Circuit and wiring diagrams
I looked at the driver board and tried to understand what's going on. Here is an incomplete circuit diagram drawn far enough to understand what the main signals do:
STEPCRAFT to GRBL (MaXYposi)
The parallel port of the STEPCRAFT machine (DB25 male X1, respectively 2x13 pin header SV1 on the PCB) gets the signals normally from a PC with parallel port (e.g. from LinuxCNC). We will use the GRBL board to generate the machine signals (DB25 connector male). The GRBL board gets its information over an USB to serial converter (FTDI, PL2303,CH340) from the PC. Unfortunately there is no standard for the signals, so it is not possible to connect both boards 1:1.
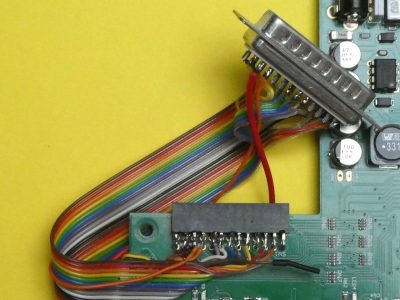
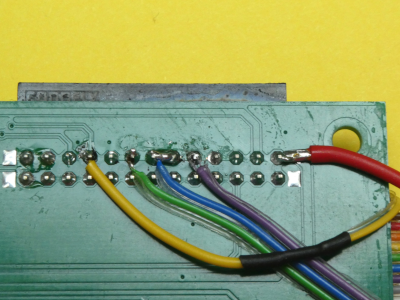
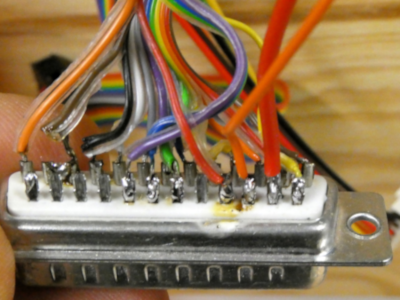
The signals on the STEPCRAFT driver board (DB25 X1 or 2x13 header SV1):
8x Direction (DIR) and Step (Takt)
Direction and Step signals are needed for every stepper. We get 3 stepper for 3 dimensions X,Y and Z, and stepper signals for a fourth axes or stepper calledC. This driver is not included on the driver board from STEPCRAFT, but an additionally PCB can be bought, so the signals are available on the 2x5 pin header (SV2 and on the PCB) and on the DB15 connector (external signals) X2. All DIR and STEP signals are interchanged on the pins of the DB25 connectors from the GRBL board and the STEPCRAFT PCB and have to be crossed.Relay 1-3 and "n.a. out" aka PWM spindle
These 4 signals give the possibility to switch relays or other things connected to the DB15 connector (external signals) X2 of the STEPCRAFT machine if needed. This connector is also called STEPCRAFT system bus in the manual. I bought the STEPCRAFT spindle and saw in the spindle manual, that it is switched on/off with the pin 13. That is the relay 1 signal! The PWM signal is on pin 7 (PWM out). If we look at the circuit we see that this signal comes from pin 17 of the DB25 called "n.a. out" or "free out" (frei (Out))! So I connected "free out" pin (STEP 17) to REL SPINDLE of the GRBL board (14). I thought with PWM connected the on/off signal would not be needed, but I was wrong. So I added a switch to this signal to be able to change the speed manually on the spindle driver housing or automatically with the software.
- Emergency stop
This pin gave me the most trouble, mainly because the German manual was not clear, labelling the pin with error (Fehler), and I didn't know if I was dealing with an input or output. The pin is not buffered, but it seems to be an output, and it logical HIGH if the emergency stop connected to the the driver board is opened (normally closed (N.C. against GND). As the GRBL board has no information about the stop, I thought it would be good to pass the information by using one of the free pins on the DB25 connector (pin 16). On the GRBL side the logic of the signal signal had to be inverted. I used a transistor 2N7000 to so so.
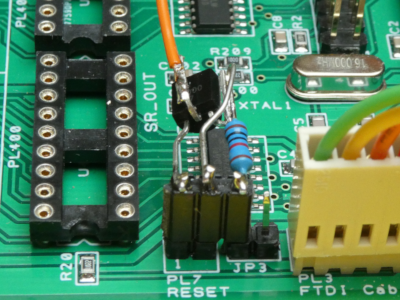
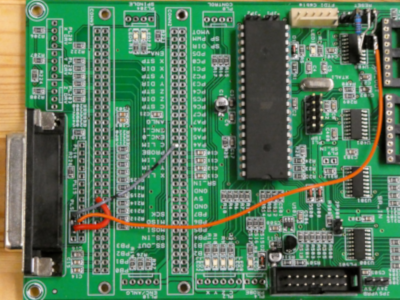
Reference switches (X/Y/Z, 4th axis C)
The GRBL board has 3 inputs for X, Y and Z switches. On the STEPCRAFT side we get one XYZ switch signal and one 4th axis (C) switch signal. These signals are all LOW if the switches are closed, so we need to adjust the parameter $5 in GRBL (see bCNC). I connected the XYZ switch signal (STEP 12) to X (GRBL 10), Y (GRBL 11) and Z (GRBL 12). The C axis switch signal is connected to the free GRBL connector pin 17 and a on the GRBL board a wire connects the signal to the corresponding input pin.Tool length sensor
We connect the GRBL input (13) with the STEPCRAFT output (10). If we use the external 3.5 mm jack the jumper on the STEPCRAFT board must be tucked in. It its only removed if both inputs (jack and internal screw header) are used simultaneously. The NC switch of the tool length sensor is connected to audio left and audio right! This was not clear in the STEPCRAFT manual.VCC
The GRBL board (less than 100 mA) can be powered from the Stepcraft board. Fortunately 5 V are available on pin 26 of the 2x13 header and I used the free pin 15 of the GRBL DB25 connector to power the board.
GRBL (MaXYposi) to MaXYpulti
I will use the DB25 connector of the STEPCRAFT parallel board to connect the MaXYposi with the MaXYpulti. The easiest way is to recycle an old DB25 cable even if we get only 16 pins.
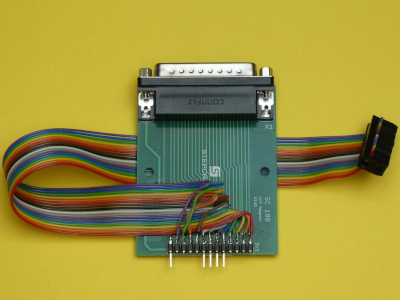
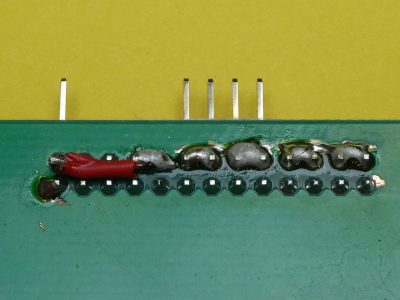
Serial to USB
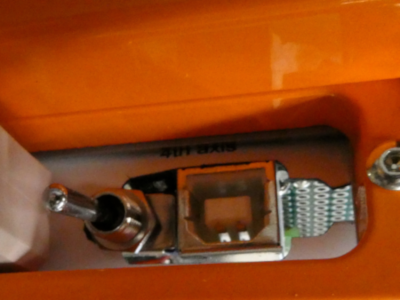
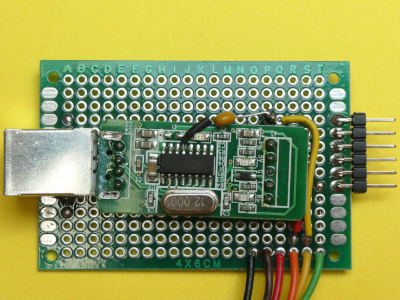
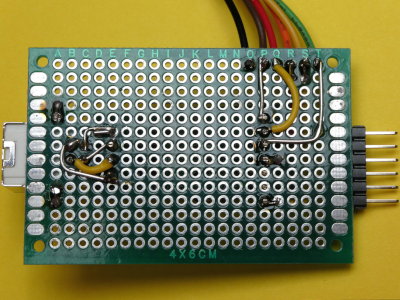
To access the GRBL board I soldered a spare Serial/USB converter with CH340 chip on a board. This board takes the place in the STEPCRAFT, where a 4th axis board would be. The DTR line (pin 13 on CH340) needed by Arduino to RESET the chip while programming is connect through a capacitor to RESET (pin 2 on header).
The pins on the right are only there to hold the board.
Fixation
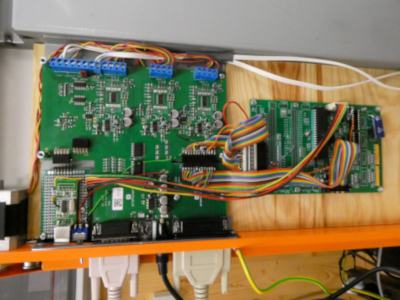
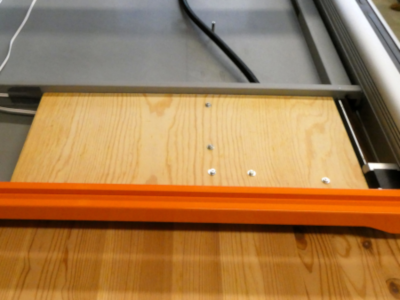
To fix the GRBL board I added a wooden panel to the STEPCRAFT mill, fixed on the existing M3 tapped holes.
GRBL STEPPI :)
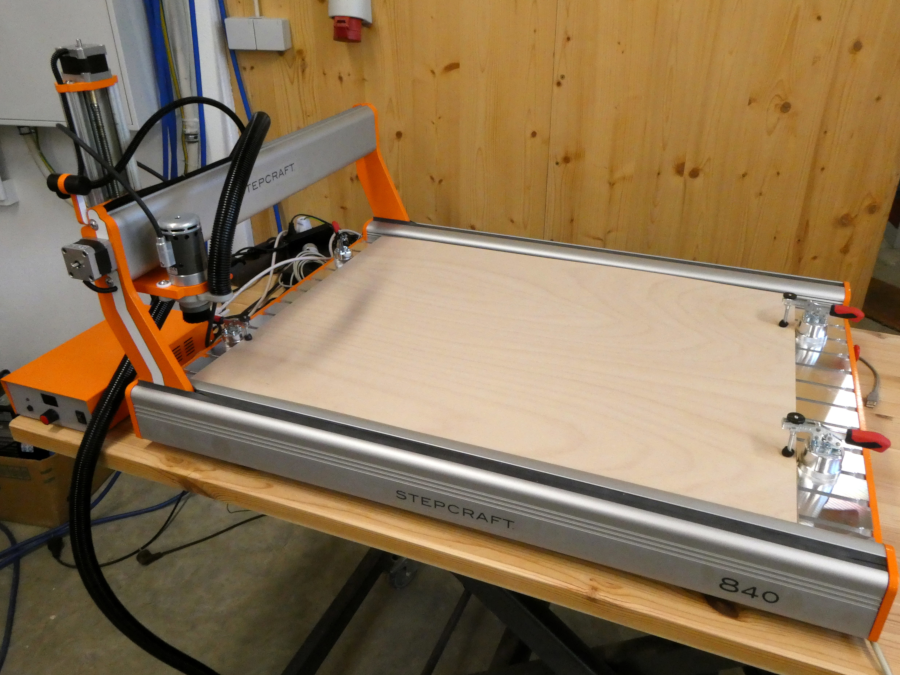
Changing the GRBL parameter with bCNC
Tweaking the different GRBL parameter for the STEPCRAFT machine could be done with a terminal program, but it is much more comfortable to use a GUI program like bCNC.
Install bCNC
Download bCNC from https://github.com/vlachoudis/bCNC and extract the zipped file. Read on git how to install it. On my Kubuntu I chose not to install it but changed to the bCNC subdirectory and started the program with
./bCNC
(If tkinter is missing you can install it with sudo apt install python-tk).
Configure bCNC
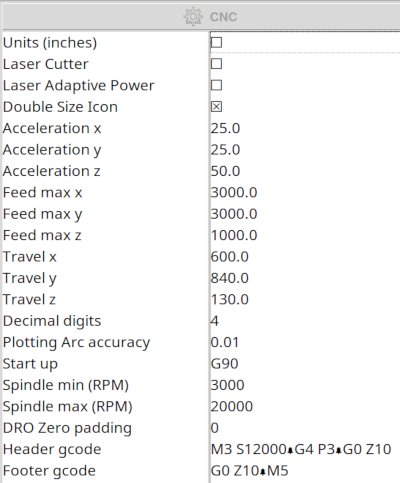
First I needed to customize the program because of it's tiny icons and font size. In the CAM tab there is a Config icon, displaying the Machine configuration for bCNC parameter. Here we find a checkbox to double the icon size.
Other important settings are:
- units unchecked (for mm)
- feedmax xyz (3000,3000,1000 for stepcraft D)
- travel xyz: These values define the work area e.g. 600,840,130 (yellow rectangle)
- Spindle min/max e.g. 3000,20000
The other settings can remain with the default values.
More infos about the configuration parameter can be found on github
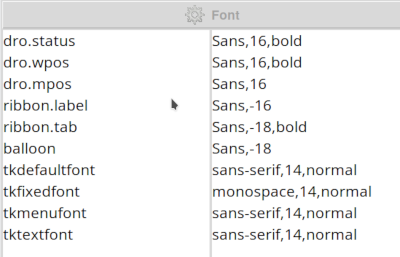
The Fonts icon helps to get a bigger font.
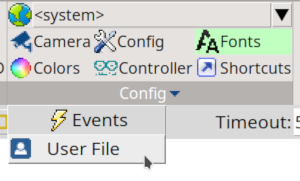
For more config parameter you can edit the User File, normally locatet in the home directory under .bCNC.
Changing GRBL parameter for the STEPCRAFT mil with bCNC
Click on the Controller icon. The following parameter have to be changed for a Stepcraft D840 mil. The other parameters stay on default values. For more informations on the parameter for your machine you can look in the GRBL wiki.
$5 Limit pins invert: The STEPCRAFT limit switches are normally closed (NC), expects normally open (NO), so we have to invert. Click the checkbox!$6 Probe pin invert: Also normally closed (NC). Click the checkbox!$21 Hard limits: We use them, so click the checkbox!$22 Homing cycle: We need homing. Click the checkbox!$23 Homing direction invert: The X axis needs to change the direction for homing. This is done with the number 1. Change zero to1.$27 Homing pull-off [mm]: This is the distance to the limit switches after homing. I increased it to 3 mm.$30 Max spindle speed [RPM]:20000for the STEPCRAFT spindle.$31 Min spindle speed [RPM]:3000for the STEPCRAFT spindle.$100 X steps/mm:133.33for the STEPCRAFT motors (4003 steps/3 mm pitch of the trapezoidal thread spindles).$101 Y steps/mm:133.33for the STEPCRAFT motors.$102 Z steps/mm:133.33for the STEPCRAFT motors.$110 X max rate [mm/sec]:3000for the STEPCRAFT machine.$111 Y max rate [mm/sec]:3000for the STEPCRAFT machine.$112 Z max rate [mm/sec]:1000for the STEPCRAFT machine.$130 X max travel [mm]:600for the STEPCRAFT machine.$131 Y max travel [mm]:836for the STEPCRAFT machine.$132 Z max travel [mm]:130for the STEPCRAFT machine.
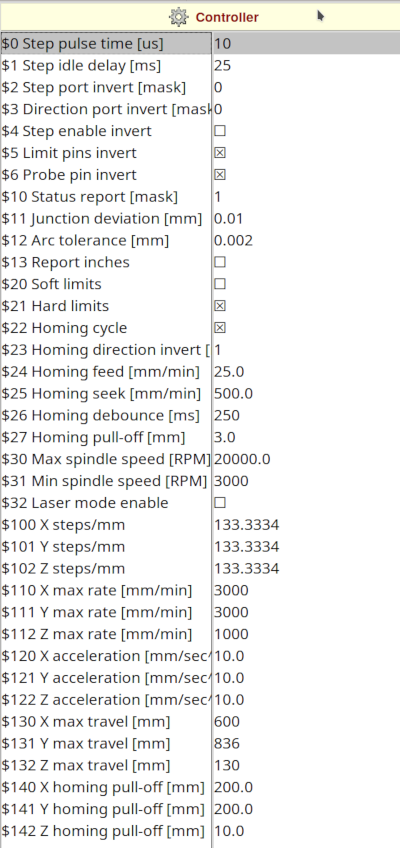
After changing the parameter you have to click on Controller to upload the data to GRBL.
To try milling your first project with bCNC look here: http://www.weigu.lu/other_projects/cnc/bCNC/index.html
