Baking SMD
Using lead-free solder with a reflow oven
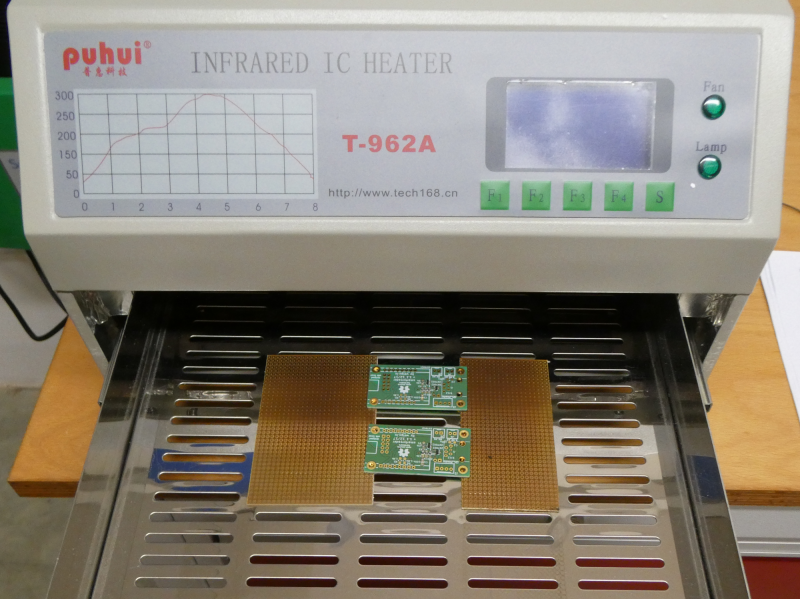
The reflow oven PUHUI T-962A
last updated: 22/06/18
In a recent MAKE magazine (German edition 2/18 p132) was a short review of a reflow oven.
I love baking so the oven was bought over AliExpress. Its the PUHUI T-962 (tech168.cn). SMD soldering is quite easy with our soldering station and leaded tin alloys. Using lead-free solder is more difficult, so using a reflow oven simplifies the job.
To test I used a syringe with "No-Clean" SMD solder paste from reichelt.de (CR 88 from EDSYN GMBH). The solder paste is lead-free (Sn96.5 Ag3.5) and the dispenser needle has a 0.58-mm opening.
Using the oven was quite simple (but not intuitive). Press S (F4 for English) and than F3. Choose the right wave with F1 and F2. For Sn96.5Ag3.5 this is wave 3 (F3 again for info). After this you exit with F4 and start the process with F1.
After 8 minutes the pizza is ready.
First test
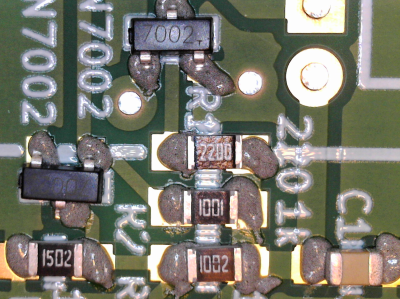
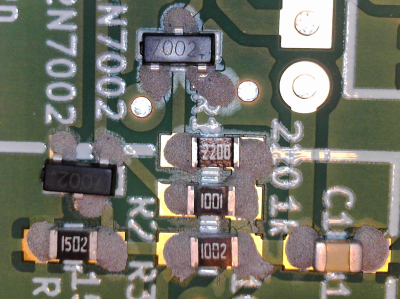
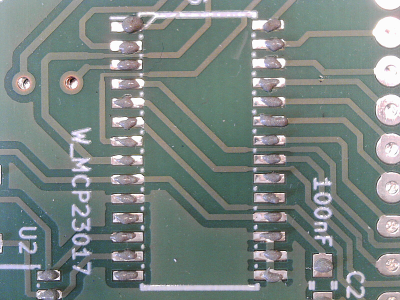
In the first picture the lead-free paste with the placed components. In the second picture the PCB after baking.
This first test wasn't what I expected. I took too much soldering paste, and the result was disillusioning. I had shorts on all pins. and the aspect of the paste wasn't right. I placed the PCB in the very front of the oven drawer, to be able watching the process through the little window. Obviously the heat regulation isn't very good so far from the midst.
Second test
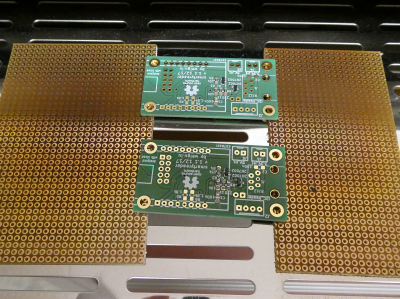
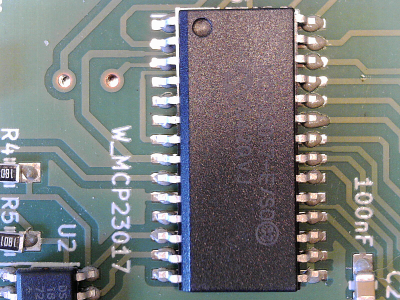
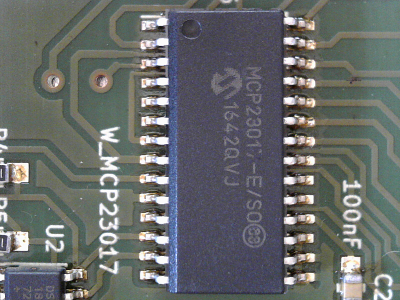
For the next test I took less paste, and placed the PCB in the middle of the oven. To get a little distance to the drawer bottom, it was laid on two other PCBs. In the manual there was an instruction to place a bigger PCB (10x10cm²) in the oven when soldering small boards.
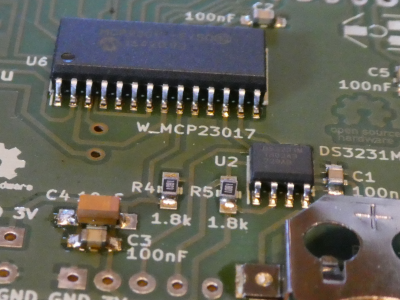
And finally the results where as expected, no more shortcuts:
Third test
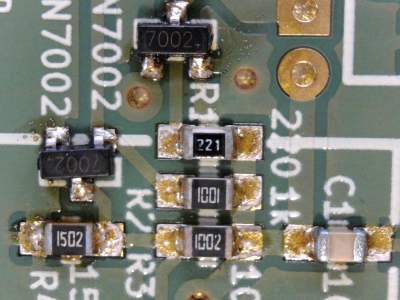
For the third test bigger parts. First the positioning:
And a real cool result:
Conclusion
Its working :)
