Music projects
Midi wireless with XBee
Last updated: 18/12/17
I wanted to use Midi over air and found this interesting page on adafruit: https://learn.adafruit.com/xbee-radios/midi-link.
I bought two XBee S1 (802.15.4) modules. The adafruit adapter with her FTDI cable is the easiest way to reprogram the XBee modules. It can be done on a breadboard but pay attention. The XBee module uses only 3V (not 5V!!) and also RTS/CTS for the communication. So the best way is to use an FTDI cable (Wiring).
Changing the baudrate
First update the XBee firmware. Download the XCTU software from
After the upgrade we set the baudrate to the MIDI baudrate of 31250 bit/s. We can use the terminal software in XCTU or another terminal software like CuteCom or CleverTerm.
To be able to send commands to the module we send 3 plus signs (+++) without Carriage Return (CR, 0x0D) or Linefeed (LF, 0x0A)!! After this we get an OK from the module and are able to send AT commands followed by a CR . The command ATBD returns the baudrate. 3 is for 9600 bit/s:
| 0 | 1200 bit/s |
| 1 | 2400 bit/s |
| 2 | 4800 bit/s |
| 3 | 9600 bit/s |
| 4 | 19200 bit/s |
| 5 | 38400 bit/s |
| 6 | 57600 bit/s |
| 7 | 115200 bit/s |
To set the module to 31250 bit/s, we have to send the baudrate in hex (31250 = 0x7A12). After the command ATBD7A12 we test with ATBD and write the baudrate to the XBee memory with ATWR.
Now we reconnect with 31250 bit/s an verify if the baudrate is ok. Mark your module with a sticker to remember the baudrate has changed!
Circuits
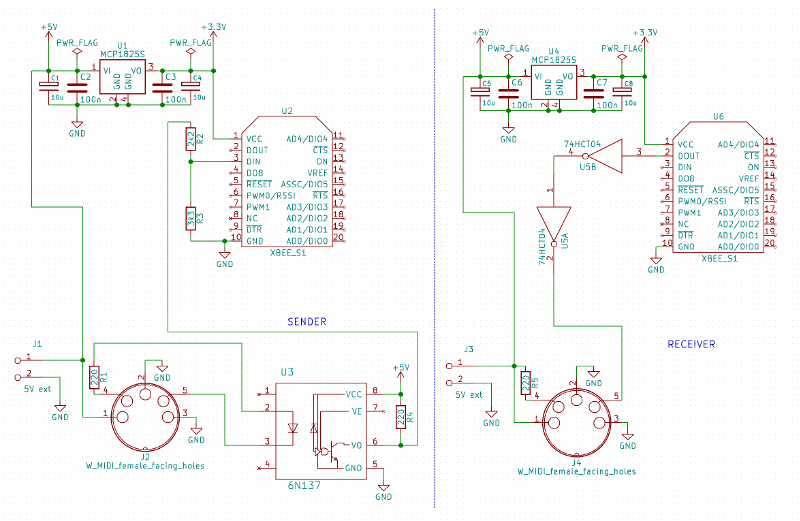
The circuits are basically the standard midi circuits, including a DC-DC Converter to get 3V for the XBEE modules.
BOM
| 3 | 220Ω |
| 1 | 2k2Ω |
| 1 | 3k3Ω |
| 4 | 100nF |
| 4 | 10µF |
| 2 | MCP1825S |
| 1 | 74HCT04 |
| 2 | XBee S1 (802.15.4) |
| 2 | Midi Jack |
| 2 | pin header 2pol |
Building the hardware
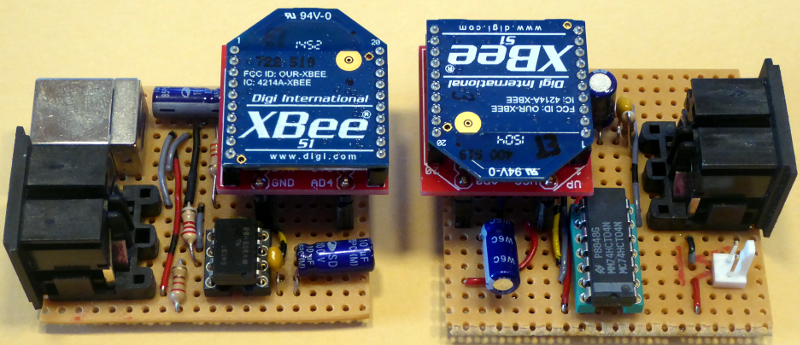
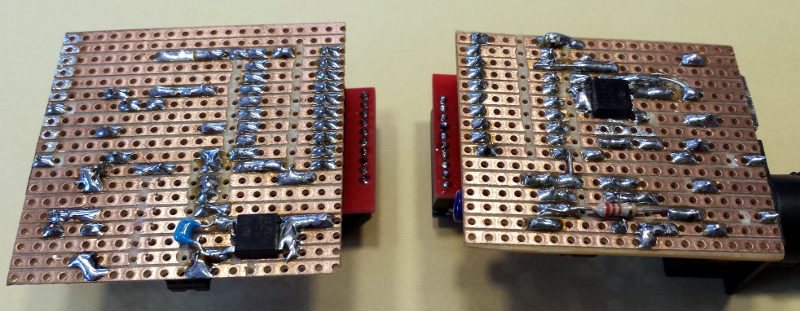
With a handful of components, no need to draw a layout. The circuits are mounted on breadboards:


